Replacing old laminate flooring is a great way to refresh your space, whether you’re doing it yourself or hiring professional flooring renovation services. With the right approach, removing laminate flooring can be straightforward and efficient. Here’s a five-step guide to help remove laminate flooring and prepare your space for the next project.
Why Remove Laminate Flooring?
Laminate flooring is popular for its durability, affordability, and variety of designs. However, over time, you may want to upgrade or refresh your space. Whether you’re renovating a room, replacing damaged sections, or switching to a new material, removing old laminate flooring is the first step toward achieving your new vision.
Tools You’ll Need
To get started, gather these tools:
– Pry bar or crowbar
– Hammer
– Utility knife
– Floor scraper
– Safety gear (gloves, goggles, and a dust mask)
Step 1: Clear the Space
Start by clearing all furniture, rugs, and décor from the room. Having an empty space makes the removal process easier. Once the room is clear, sweep or vacuum the floor to remove dust and debris. This will prevent dirt from getting in your way and make for a cleaner removal process.
Step 2: Find the Starting Point
Most laminate flooring is installed using a floating technique, meaning it isn’t glued to the subfloor. Find an exposed edge, typically near a wall or under baseboards. If necessary, carefully remove the baseboards using a utility knife to expose the edge of the laminate flooring without causing damage.
Once the edge is exposed, you’re ready to start removing the planks.
Pro Tip: If you plan to install new laminate flooring after removal, consult with professional flooring renovation services for advice on proper installation.
Step 3: Pry up the Laminate Planks
Start at the exposed edge and lift the first plank using a pry bar or crowbar. Gently slide the tool under the plank and pull upward to release it from the floor. Continue this process for the remaining planks. For floating floors, the planks should come up easily. However, if they are glued down, it may require more time and force.
Step 4: Remove Adhesive or Leftover Debris
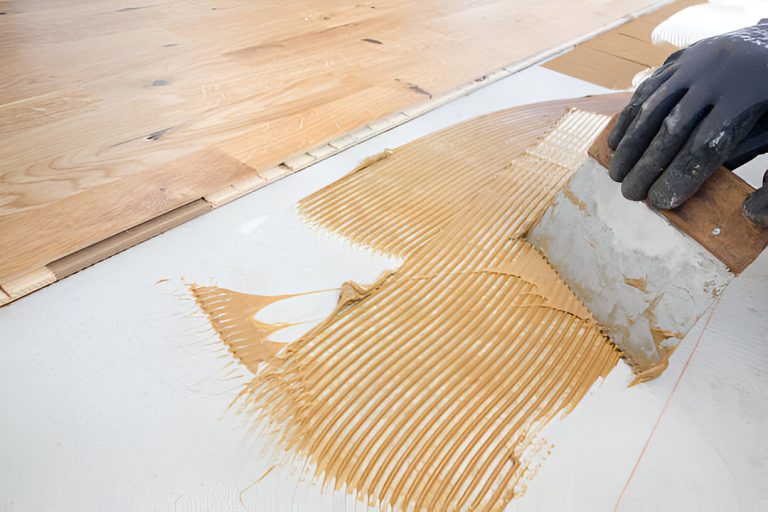
After removing the planks, check the subfloor for adhesive residue or debris. Use a floor scraper to clean the surface. A smooth subfloor is essential for the next flooring installation.
Step 5: Clean Up and Dispose of the Old Flooring
Collect the planks and debris for disposal. You can recycle the materials or take them to a local waste disposal facility. Some flooring renovation services offer eco-friendly disposal options, so check with local providers for sustainable solutions.
Conclusion
Removing laminate flooring is manageable with the right tools and steps. Whether you go the DIY route or hire professionals, clearing your old floor is a key step in your renovation journey. In New York, flooring renovation experts can ensure smooth removal and installation, helping you achieve your desired look.


