Refinishing hardwood floors can transform your home, breathing new life into tired spaces and enhancing their natural beauty. If you’re considering this project, whether to prepare for a sale or simply to refresh your living environment, you’re in for a rewarding experience. This guide will walk you through the essentials of hardwood floor refinishing in 2024.
Why Consider Refinishing?
As time passes, hardwood floors can lose their luster, becoming dull and scratched from daily wear and tear. Hardwood flooring services often highlight refinishing as a fantastic solution to restore your floors’ original charm. You might be surprised at how a well-executed refinishing project can brighten your entire home and improve its appeal.
Essential Tools and Materials
Before diving into the project, gather your supplies:
- Sanders: A drum sander for larger areas and an orbital sander for edges.
- Sandpaper: Various grits (start with 36 or 40 for heavy sanding and finish with finer grits like 80 and 120).
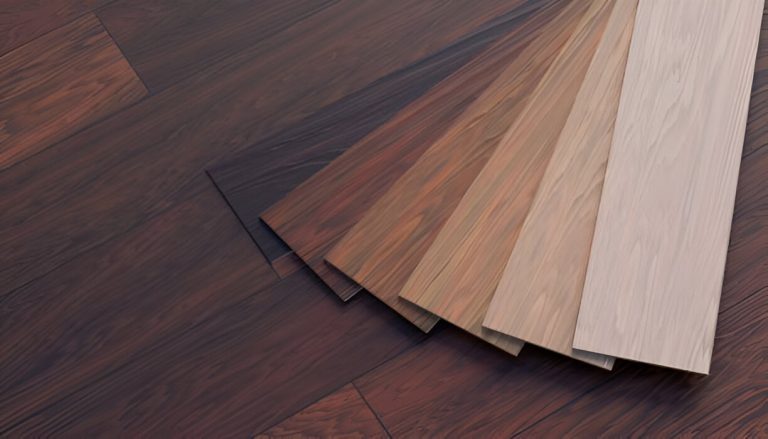
- Wood stain: Choose a color that resonates with your style.
- Finish: Polyurethane (either oil-based or water-based) for protection.
- Safety gear: Dust mask, goggles, and ear protection.
Having the right tools makes the process smoother and more enjoyable, allowing you to take pride in your work.
Steps to Refinish Your Hardwood Floors
- Preparation:
- Clear out all furniture and rugs, making way for your project. This is your moment to reclaim the space!
- Check for any loose boards or nails, securing them as necessary. A solid foundation is key to a beautiful finish.
- Sanding:
- Start with the drum sander, using coarse sandpaper to remove the old finish. Remember to move with the grain to avoid scratches.
- Switch to the orbital sander for corners and edges. This is where attention to detail pays off.
- Progressively move to finer grits until you reach a smooth surface. The process of wood floor sanding is crucial and will set the stage for a flawless finish.
- Cleaning:
- After sanding, vacuum thoroughly to eliminate dust and then damp mop the area. You want a clean slate for the next steps.
- Staining (optional):
- If you’re looking to change the color of your floors, now’s the time to apply wood stain. Use a clean cloth or brush, applying it evenly and working with the grain.
- Be patient and allow the stain to dry completely before moving on.
- Applying Finish:
- Once the stain is dry, it’s time to apply the finish. For a smooth application, a foam applicator or brush works wonders.
- Apply at least two to three coats, lightly sanding between each for the best results. This step ensures a durable surface that will withstand the test of time.
Maintenance Tips
To keep your newly refinished hardwood floors looking their best, consider these tips:
- Regular Cleaning: Sweep or vacuum often to keep dirt at bay.
- Avoid Excess Water: Moisture can wreak havoc on wood, so clean up spills promptly.
- Use Furniture Pads: Protect your floors by placing pads under furniture legs.
Conclusion
Refinishing hardwood floors can rejuvenate your home, making it feel warm and inviting again. This process not only restores the beauty of your wood but also increases your property’s value. If you’re not up for the DIY challenge, don’t hesitate to seek help from professionals for hardwood floor installation or wood floor restoration. Embrace the journey of hardwood refinishing and enjoy the stunning transformation of your living space!


